
Making your own Gel Wax Melts is a great way to save money and customize the scent of your melts. To make your gel wax melts, you will need Gel Wax, Fragrance Oil, a double boiler, molds, and dye blocks.
This article will guide you on how to make your own gel wax melts. We will also discuss frequently asked questions that you may have during your making process. Let’s dive in.
What are gel melts made from?
Gel wax is a type of wax that is made from synthetic oils. In general, gel wax is made from polymer resin and mineral oil. It is known for being clear and having a low melting point making the wax perfect for making wax melts. Gel wax is becoming increasingly popular among wax melt creators as they have a longer burn time than traditional wax melts.
What do you need to make gel wax melts?
First, you will need to gather your supplies. For this project, you will need Gel Wax, Fragrance Oil, a double boiler, molds, and dye blocks. You can find these items at your local craft store or online.
- Gel Wax
- Fragrance Oil
- Double boiler
- Moulds
- Dye blocks
- Thermometer
- Stirring Utensil
The process of making gel wax melts
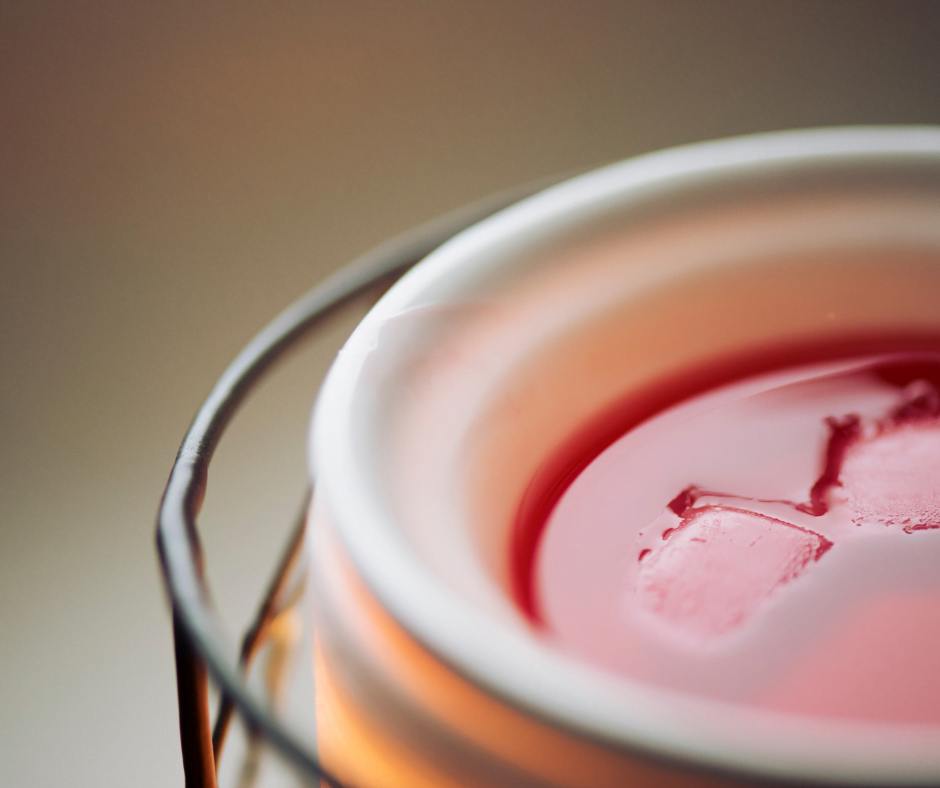
1. Melt Gel Wax in Double Boiler
Start by heating the gel wax in the double boiler. All waxes have different temperature requirements for pouring and adding fragrance oils. In general, the melting point of gel wax is 82 degrees Celsius, and the pouring temperature for this wax is between 94 and 104 degrees.
As you heat your wax, you will want to ensure that you monitor the temperature regularly. This will allow you to add your components at the correct temperatures. Ensure that you check the specific wax you purchased, as pouring and melting temperatures should be on the wax label.
2. Add the fragrance oil
Once the wax has reached 94 to 104 degrees, remove the wax from the heat to ensure that the wax’s temperature does not continue to rise. At this point, add the fragrance oil of your choice. You will want to ensure that this does not exceed the fragrance load of your chosen wax. This is often no more than 10% of the total volume of liquid wax.
3. Stir the mixture
Stir the fragrance oil into the mixture ensuring that the fragrance oil is evenly distributed. You can use a chopstick or other similar utensil for this process.
4. Add dye blocks
If you want to add colour to your melts, now is the time. To do this, add small pieces of your chosen dye block into the mixture and stir until it is evenly distributed. Make sure you use dye blocks as powdered dyes to not blend well with gel wax.
Less is more with gel waxes to ensure that you keep the transparency of your gel candle. Add several shavings to provide a hint of colour while maintaining the overall transparency of the wax melts.
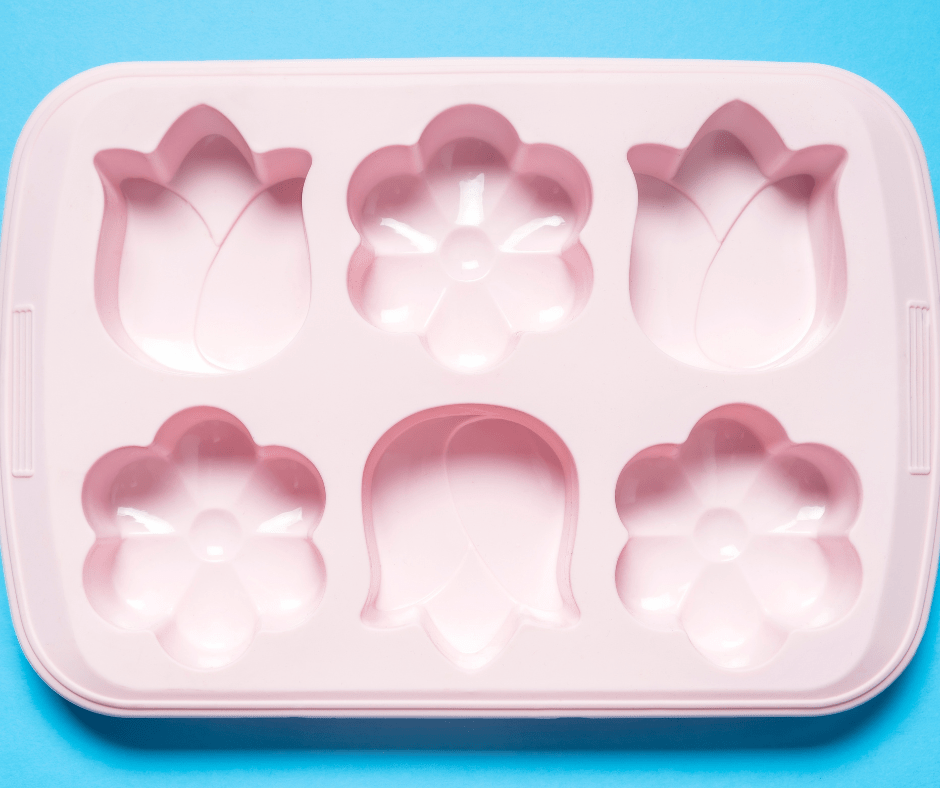
5. Prepare your moulds
Now that your wax is melted and mixed, it is time to prepare your moulds. For this process, you will want to ensure that your moulds are clean and dry. Any water or residue in the mould can cause your gel wax melt not to set properly.
Once your moulds are clean, you can begin to pour the wax into them. Fill the moulds no more than three-quarters of the way to ensure that the gel wax has enough room to expand as it sets. Make sure your pour temperature is between 94 and 104 degrees with your thermometer.
6. Allow your melts to set
Now that your gel wax melts are in their moulds, you must wait for them to set. This process can take up to 24 hours, so be patient. Once they are set, you can remove them from the moulds and enjoy!
If your gel wax melts are not setting correctly, ensure that your pour temperature is between 94-104 degrees Celsius. If it is not, then your gel wax melts will not set. You can also try refrigerating your gel wax melts for 30 minutes to an hour to help them set if they are still not cooperating.
7. Store in a cool, dry place
Once your gel wax melts are set, you need to store them in a cool, dry place until you are ready to use them. They can sweat and become sticky if they are stored in a humid environment.
You can store them in an airtight container or bag to prevent this. When ready to use them, pop them out of the mould and enjoy!
And that’s it! You’ve now made your very own gel wax melts. These make great gifts or excellent addition to your home fragrance collection. Experiment with different colours, scents, and moulds to create uniquely yours melts.
How to customize the scent of your melts
One great thing about making your gel wax melts is that you can customize the scent to your liking. If you want a stronger smell, add more fragrance oil. For a softer scent, add less. You can also mix and match different fragrance oils to create your own unique scent.
What are some other benefits of making your own gel wax melts?
In addition to customizing the scent, there are a few other benefits to making your gel wax melts. First, it is much cheaper than buying ready-made melts. Second, you can be sure that the ingredients in your melts are of high quality and not full of synthetic fragrances and chemicals. Finally, it is a fun and easy project to do with the kids!
What are the advantages of using gel wax?
Gel wax has a few advantages over traditional waxes.
- First, it has a lower melting point, which means it will melt faster and release the fragrance quicker.
- Second, the wax is transparent, allowing you to see through the wax melts, giving your melts a unique look compared to traditional wax types.
- Finally, gel wax has a longer burn time than some traditional waxes, including coconut wax
Tips for using gel wax melts
Here are a few tips to get the most out of your gel wax melts:
- Use a quality gel wax for the best results.
- Make sure your molds are clean and dry before pouring in the wax.
- Allow the wax to cool completely before removing it from the mold.
- Store your gel wax melts in a cool, dry place.
- Allow your wax melts to cure for at least 24 hours before melting them.
FAQs about Gel Wax Melts
What is the difference between gel wax and regular wax?
Gel wax is a type of wax that is transparent and has a jelly-like consistency. It is made from mineral oils and resins and is not as prone to shrinking and cracking as regular wax.
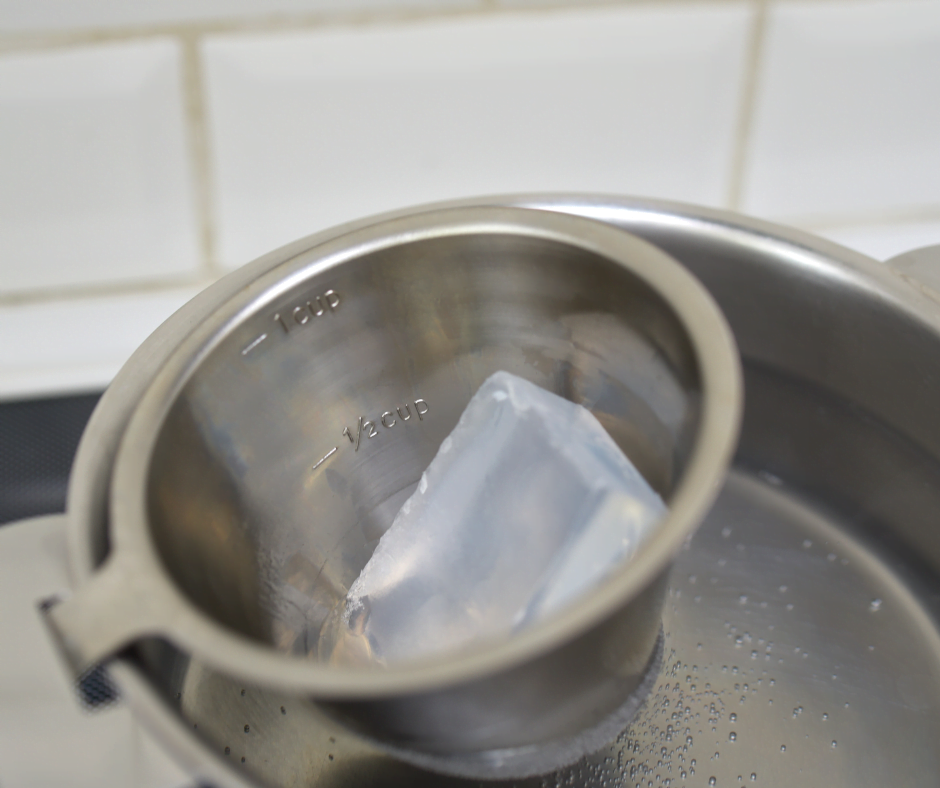
What is the best way to melt Gel Wax?
The best way to melt Gel Wax is in a double boiler. This will help to prevent the wax from burning. If you do not have a double boiler, you can use a glass bowl set over a pot of boiling water.
Can I add colour to my gel wax melts?
You can add color to your gel wax melts by using dye blocks. Dye blocks are available in various colors and can be found at most craft stores.
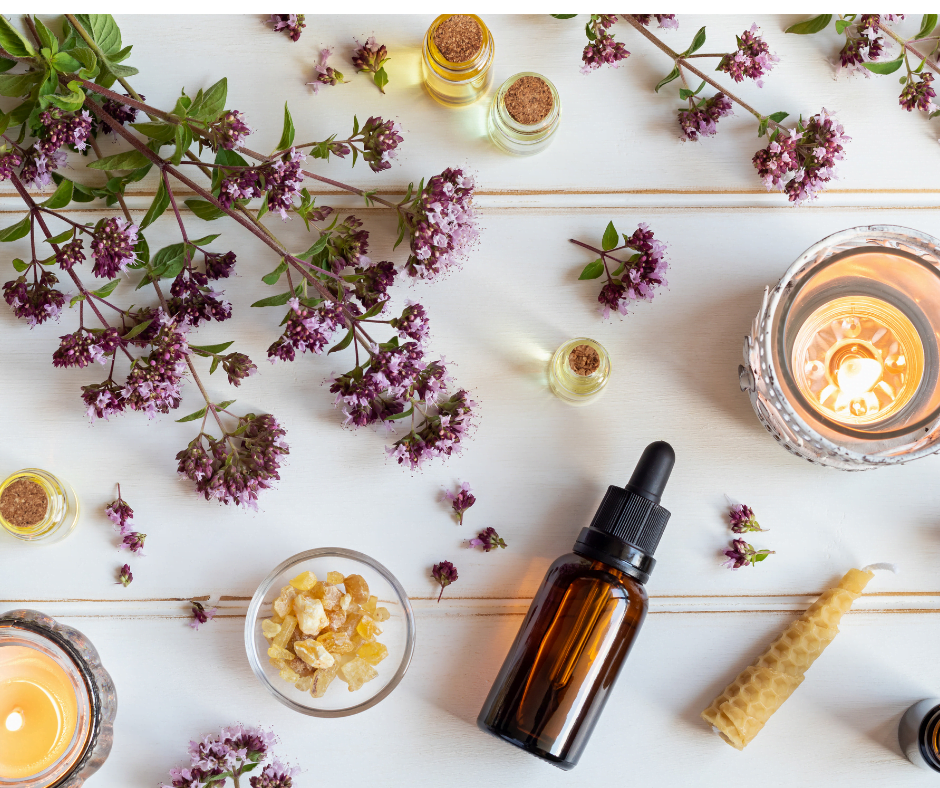
Can I add essential oils to my gel wax melts?
You can add essential oils to your gel wax melts. Essential oils will give your melts a natural scent and can be added at the same time as the fragrance oil.
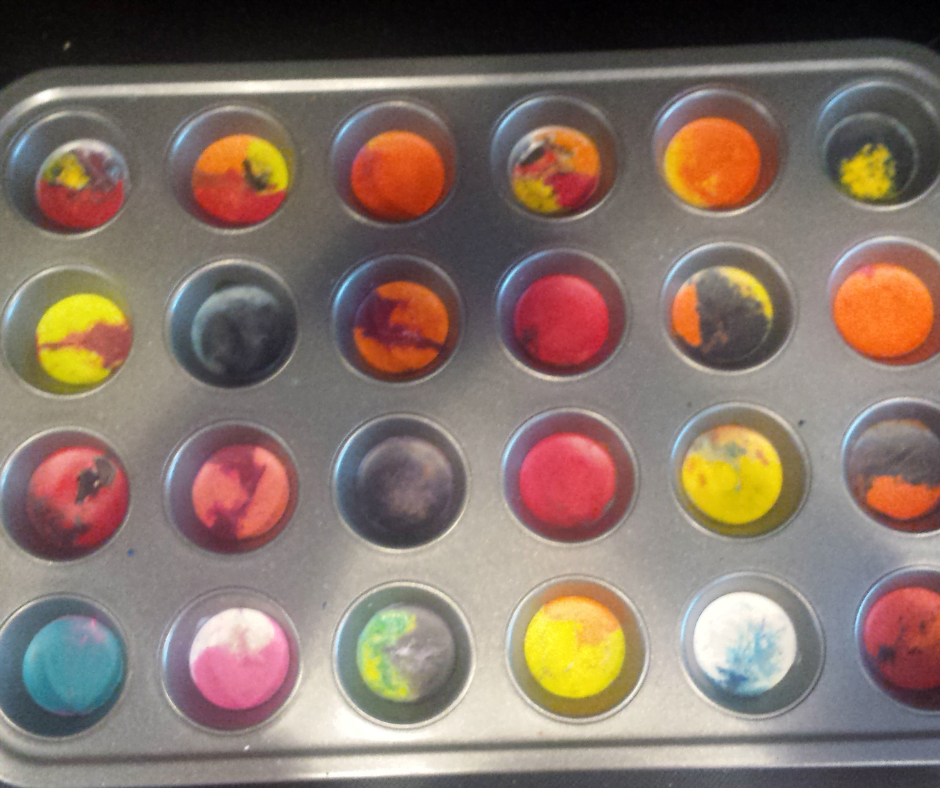
I don’t have any moulds, can I still make gel wax melts?
If you don’t have any moulds, you can use an ice cube tray or muffin tin. Pour the melted wax into the tray or tin and allow it to cool completely. Once it is solidified, pop out the wax melts and enjoy!
What is the best way to store my gel wax melts?
The best way to store your gel wax melts is in a cool, dry place. Store them in an airtight container to keep them fresh.
Final Thoughts
Making your own wax melts is a great way to make the most of your wax melt-making experience. Not only do you get to customize the scent, but you also get to choose the type of wax and the strength of the scent. With a little practice, you’ll be a pro at making your gel wax melts in no time!

