
Candles are a beautiful way to add ambiance to any room. They can also be used to create a relaxing and stress-free environment. However, one of the biggest problems with candles is candle tunnelling. This occurs when the wax around the wick melts faster than in the candle’s centre, creating a tunnel-like shape. In this blog post, we will discuss what wax memory is and how you can prevent candle tunnelling from occurring!
What is candle tunnelling?
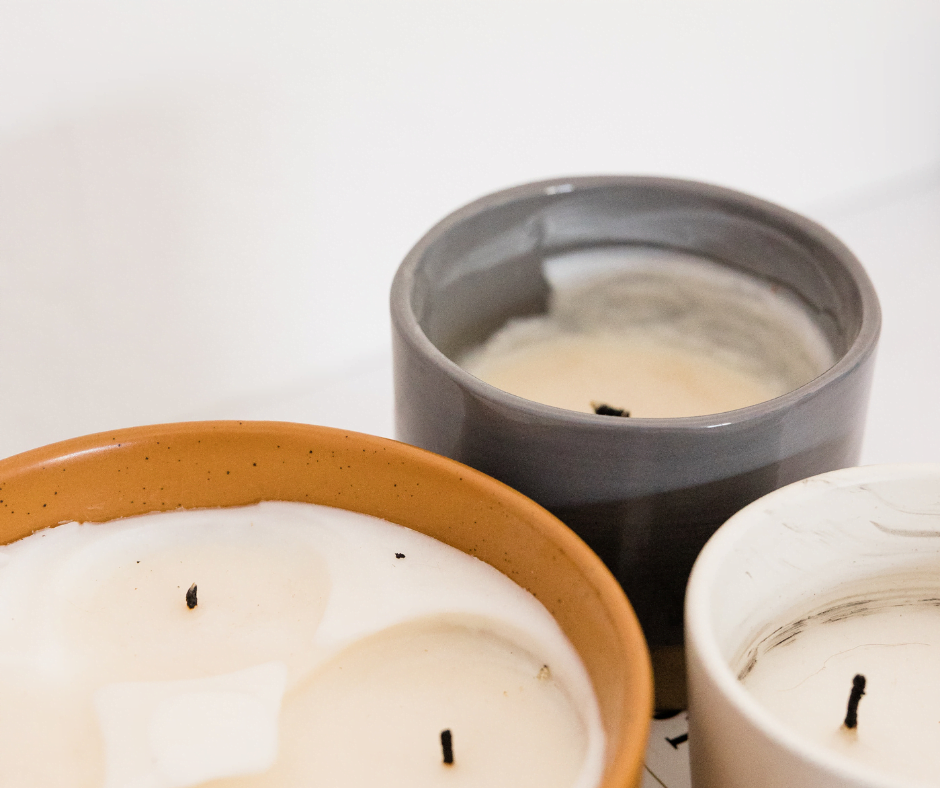
Candle tunneling occurs when the wax around the wick melts faster than in the candle’s center. This can be caused by several factors, including drafts, improper wick trimming, and even a lower quality wax. When candle tunneling occurs, it looks unsightly and can cause the candle to burn for a shorter period.
What is wax memory?
Wax memory is the phrase used to describe when a candle “remembers” its previous burn shape. This is due to the wax not cooling back to its original cured state. This is why the “memory burn” (the first time you light your candle) is so important. The wax must melt evenly across the entire surface to prevent wax memory from occurring in a tunneling fashion.
Why is wax memory important?
Wax memory is crucial because it can cause the candle to burn for a shorter period if the memory burn is not carried out correctly. If the memory burn is not carried out long enough, the wax will not entirely pool on top. If this happens, the wax memory will “remember” the memory burn shape. If the memory burn shape is not the entire candle surface – tunnelling will occur.
Is candle tunneling bad?
Candle tunneling can be bad for a few reasons. As we mentioned before, it can cause the candle to burn for a shorter period. It can also cause the wax to drip down the sides of the candle, which can be dangerous. If you are using a scented candle, tunneling can also cause the fragrance to be weaker.
What causes candle tunneling?
Several things can cause candle tunnelling. In this section, we will review the top reasons why candle tunnelling occurs.
Incomplete Memory Burn
Wax memory is crucial in preventing candle tunneling. If the wax does not melt evenly across the entire surface during the memory burn, wax memory will “remember” the incomplete shape. This can cause the wax to drip down the sides of the candle, which can be dangerous.
Improper Wick Trimming
If the wick is not trimmed correctly, it can cause the wax to melt unevenly. A properly trimmed wick should be 1/4 of an inch long. If the wick is too long, it can cause the wax to melt too quickly. If the wick is too short, it can cause the wax to melt slowly.
Drafts & Wind
Drafts can cause the wax to melt unevenly. Moving the candle to a different location is best if you are burning a candle in a drafty area. Wind can also cause the wax to melt unevenly. If you are burning a candle outdoors, ensure the area is calm and free from wind gusts.
Lower Quality Wax
Lower quality wax can cause the candle to tunnel. If you are having trouble with candle tunnelling, it is best to use a higher-quality wax. Beeswax is an excellent option because it has a lower melting point. This means that it will melt evenly and slowly, preventing candle tunnelling.
Incorrect Wick Size
If the wick is too small for your candle, it can cause the wax to melt slowly. If the wick is too big, it can cause the wax to melt quickly. Each wick is made different, and each wick will have a designed burn radius.
The radius of the burn is very important for your candle. If your wick radius is smaller than the radius of your candle jar, no matter what you do, you will always experience tunnelling. The wick will not be able to give off enough heat to melt the total diameter of your candle surface. Using a wick that is the correct size for your candle is essential.
External Temperature
If the room temperature is too cold, it can cause the wax to not melt at the outermost point of the candle. This will prevent the wax from melting evenly and can cause candle tunnelling. This is due to the candle wax taking longer or not reaching the required melting point temperature. If the room temperature is too hot, it can cause the wax to melt too quickly. This will also prevent the wax from melting evenly and cause candle tunnelling.
If you happen to be someone that wants to avoid mushrooming wicks on candles outside, hold up for just a minute. We wrote an article all about how to keep you candles burning bright outside that we encourage you to read!
Now that we know why candle tunnelling occurs let’s discuss how to prevent it.
How to prevent candle tunneling:
There are a few things you can do to prevent candle tunnelling from occurring.
Complete Memory Burn Over Three Hours
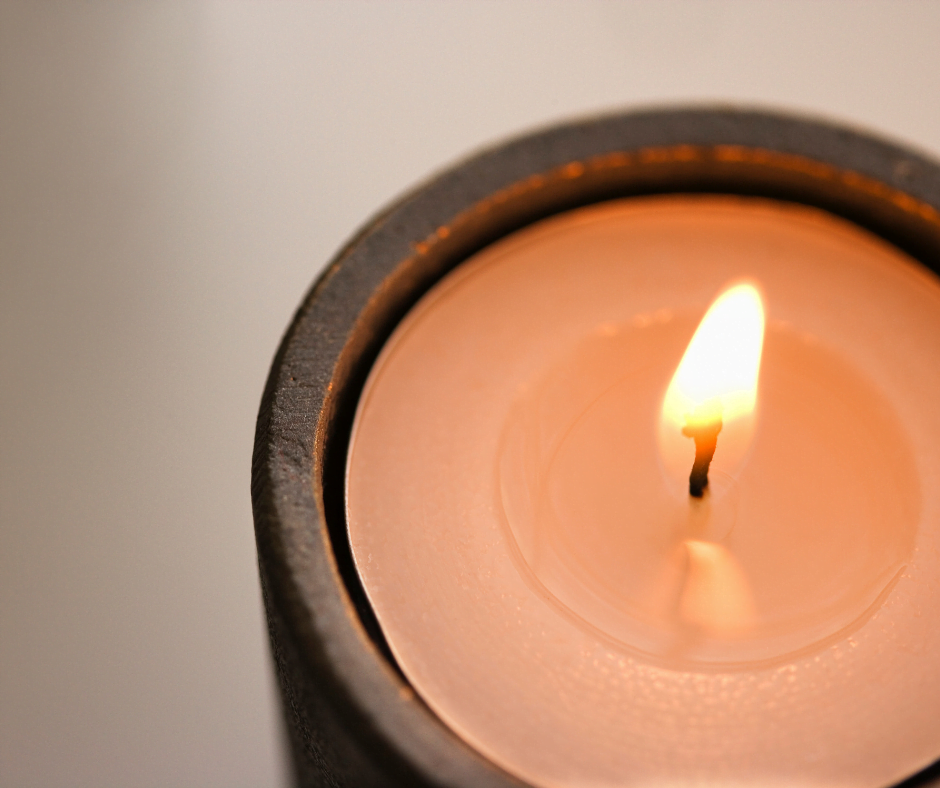
The first thing you need to do is to make sure you carry out the memory burn correctly. The wax needs to melt evenly across the entire surface of the candle. This will ensure that wax memory “remembers” the correct shape. The memory burn should last for at least three hours.
Trim the Wick Correctly
As we mentioned, trimming the wick to the correct length is essential. A properly trimmed wick should be no longer than a ¼ inch. If the wick is too long, it will cause the wax to melt too quickly. If the wick is too short, it will cause the wax to melt slowly.
Use the right wick for your candle.
As we mentioned before, each wick is made differently. And each wick will have a designed burn radius. It is essential to use the correct wick for your candle. If the wick is too small, it can cause the wax to melt slowly. If the wick is too big, it can cause the wax to melt quickly.
You want to carry out a burn test on your candles to ensure that your wick has the required burn radius. This will ensure that your wick can melt the entire surface of your wax. Testing is critical in candle-making; you never want to place an unsuitable wick in a candle. You will always get tunnelling if you do this!
Shield Your Candle From The Environments
As we mentioned before, drafts & wind can cause the wax to melt unevenly. If you are burning a candle in a drafty area, moving it to a different location is best. If you are burning a candle outdoors, ensure the area is calm and free from wind gusts.

How to fix a tunneling candle?
Before we start, if the following scenarios are happening, you need to go straight to “What to do if my candle is badly tunnelling.” If your candle has:
- The candle tunnel has a minimal diameter and has been burned for at least one hour.
- The candle displays significant tunnelling within the first several hours of burning.
If either of these situations is happening, in general, there is something wrong with the creation process of the candle. This is usually down to the wick the manufacturer has chosen to use in the candle. This candle will need to be rewicked.
What to do if my candle is starting to tunnel?
If you have only started to witness tunnelling on your candle, you should burn the candle for at least three hours. This will ensure that your candle has the time to carry out a complete melt pool on the top of the candle. This memory burn will allow your candle to stop the tunnelling process before it begins.
What to do if my candle has a small to the medium tunnel?
If your candle has started to tunnel a few inches significantly, you can try the following methods:
Method 1
- Extinguish your candle & allow it to cool until the wax has solidified.
- Trim your wick to a ¼ inch.
- Place tin foil over the top of the candle jar.
- Make an opening for the candle flame in the centre of the tin foil.
- Re-light your candle & allow it to burn for three to four hours.
- Repeat the process until the candle has pooled and is level without tunnelling.
Method 2
- Extinguish your candle.
- Get a glue gun.
- With the glue gun, heat the wax around the tunnel of the candle.
- Heat the wax with the glue gun until the pooled wax is level.
- Allow the level wax to cool.
- Relight the candle.
What to do if my candle is badly tunneling?
If you find that your candle has tunnelled significantly and cannot achieve a level wax top, you will need to rewick your candle.
We have written a complete guide on how to carry out the activity of rewicking and how to carry out the activity of rewicking, and we encourage you to read it. Once you have completed the guide, you will have a working candle that you can get right back to enjoying!
Final Thoughts
We hope you have found this blog post helpful. If you have any questions, please leave a comment below. Happy candle-making!

