

Many candle makers have asked whether adding salt to their candles will increase the candle’s burn time. So, what is the truth?
Adding salt to your candle can help to increase the burn time of the candle. When you add salt to your melted wax, it will increase the melting point of the wax. This is a great trick to use if you want your candles to last longer and boost the burn time.
In this article, we will explore the science behind adding salt to your candles and how you can extend the burn time of your candles.
What is salt, and what are its benefits?
Salt is a mineral composed primarily of sodium chloride (NaCl), a chemical compound belonging to the larger class of salts. Salt’s ability to increase the melting point of wax is due to its ionic nature. When salt is added to the melted wax, the positively charged sodium ions and negatively charged chloride ions interact with the electrons in the wax molecules. This interaction disrupts the ability of the wax molecules to flow and increases the melting point of the wax.
As a result, adding salt to your candle can help to increase the burn time by slowing down the rate at which the wax melts. In addition, salt can also help to improve the scent throw of your candles. Adding salt to the melted wax will help release the fragrance molecules from the wax and allow them to disperse more evenly in the air. This can help to make your candles smell stronger and more pleasant.
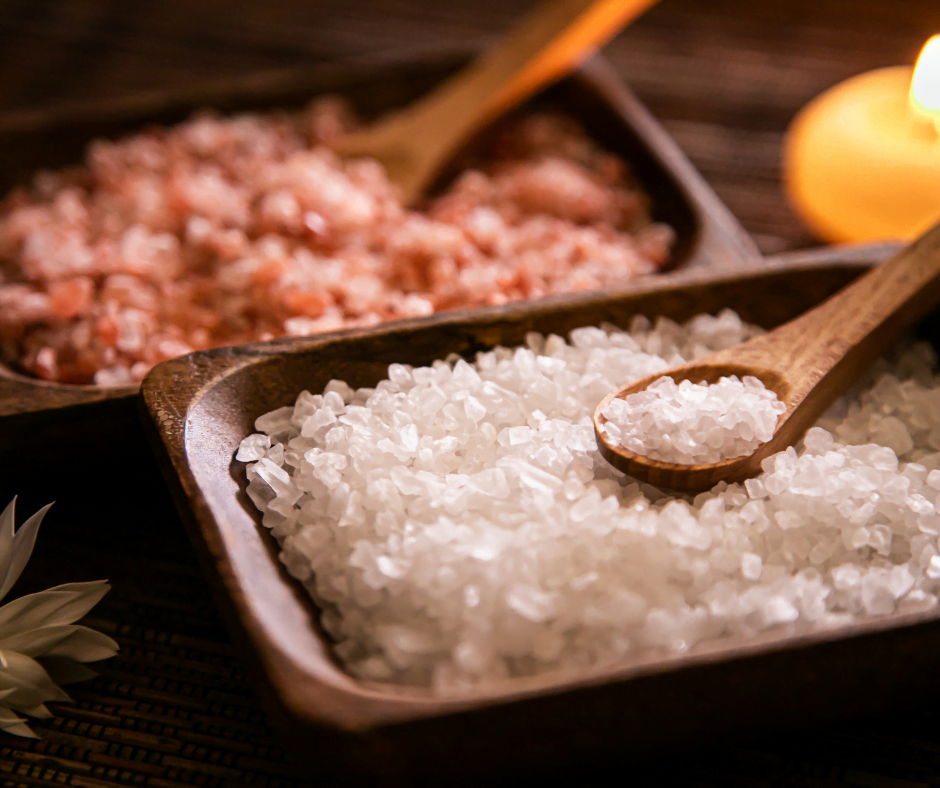
What salt can you use for candles?
It is important to use fine-grained salt so that it dissolves easily in the melted wax. Coarse-grained salt can clump together, making it difficult to get an even distribution. You can use any salt, including sea salt, kosher salt, table salt, or Epsom salt.
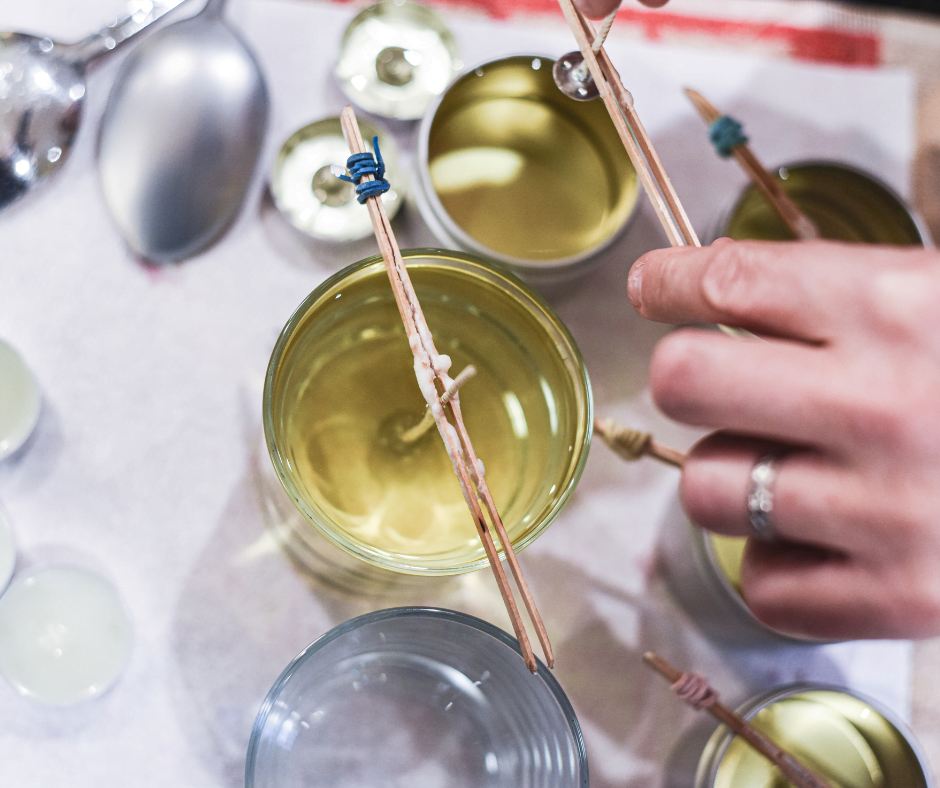
How to add salt to your candle?
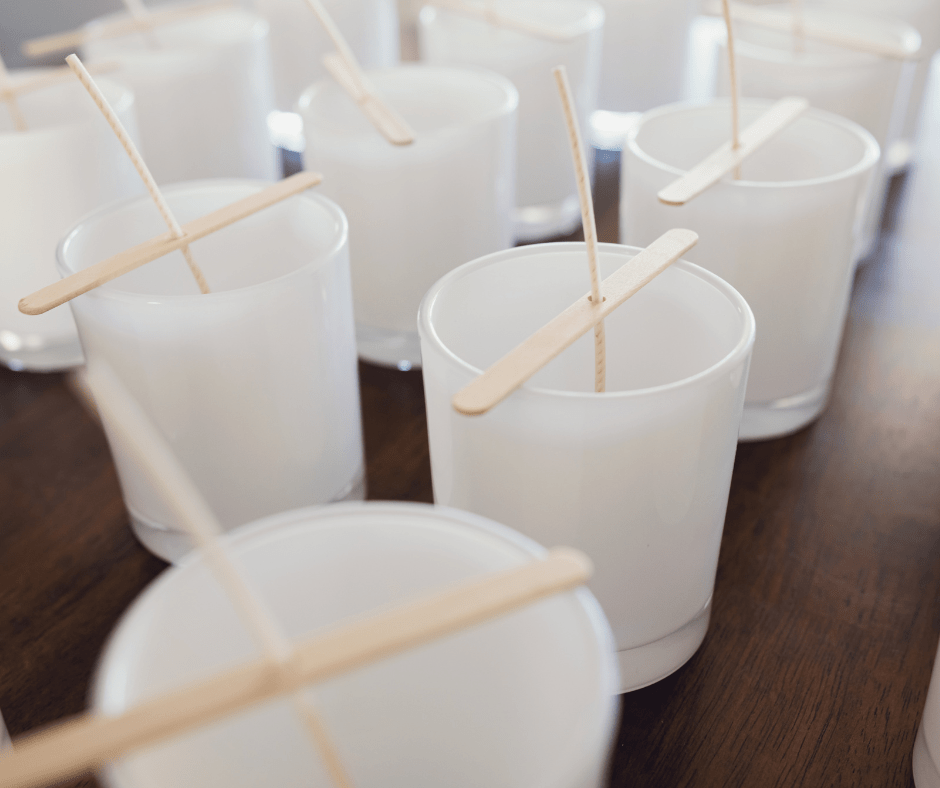
Method 1 – Adding Salt to Wax
The amount of salt you’ll need to add depends on the wax you’re using and the desired effect. A good rule of thumb for most types of wax is to add one teaspoon of salt per pound of wax. If you’re using a softer wax, such as beeswax, you can add up to 2 teaspoons of salt per pound.
To add salt to your candle, sprinkle it into the melted wax and stir until it is evenly distributed. Then, pour the wax into your mould and allow it to cool and solidify.
If you’re using a wick prone to flickering, adding salt can also help stabilize the flame. The sodium ions in salt will interact with the wax molecules and help keep the flame burning evenly.
There are problems with this method, however. You will notice that it will affect your candle’s overall finish and look. The salt will appear as white flecks in the finished candle. In addition, this method can be difficult to control, and you may end up with an uneven distribution of salt in your candle.
Method 2 – Dipping your candle in salt solution
If you’re looking for a more even distribution of salt in your candle, you can try dipping your candle into a salt solution. To make a salt solution, dissolve 1 teaspoon of salt in 1 cup of warm water.
Pour the salt solution into a shallow dish and place your candle in the centre. Gently swirl the candle around until it is coated with the solution. Then, remove the candle and let it dry. Repeat this process several times.
This method causes the salt to diffuse into the wax, increasing the melting point of the outmost layer of wax. This will help keep the wax from melting too quickly and extend your candle’s burn time. This is a great method for making dripless candles that you can read more about with our article.
Although you will not see a change in the finish of your candle, you will notice that the inner area of the candle will melt quicker than the external layer, so if these methods have their disadvantages, what can you do instead?
Alternative Methods: Make Your Candle Last Longer
Wax Additives
You can also try adding a small amount of stearic acid, Vybar, or beeswax to your melted wax. These wax additives will increase the wax’s melting point and help slow down the rate at which it melts.
Trim Your Wick
One of the simplest and most effective ways to make your candle last longer is to trim the wick before each use. When you light a candle, the flame’s heat melts the wax near the wick. This liquid wax is drawn up the wick by capillary action.
As the candle burns, the molten wax continues to be drawn up the wick. Eventually, the flame’s heat will vaporize the liquid wax, and the candle will go out. Trimming the wick before each use will remove any charred bits from the previous burn and help to prevent them from falling back into the molten wax. This will also help to keep the wick from getting too long, which can cause the candle to burn inefficiently.
To trim the wick, snip off the blackened tip with scissors. Try to leave about ¼ inch (0.64 cm) of the wick so that it’s long enough to catch the flame but not so long that it causes the candle to burn inefficiently.
Use a Candle Snuffer
Another easy way to make your candle last longer is to use a candle snuffer to extinguish the flame. A candle snuffer is a long, tube-like object with a small cup on one end. To use it, place the cup over the flame and wait for a few seconds until it is extinguished.
This method is preferable to blowing out the candle because it doesn’t introduce any oxygen into the environment around the candle. When you blow out a candle, you also blow oxygen onto the hot wick. This can cause the wick to reignite and shorten your candle’s lifespan.
Moreover, a candle snuffer can help prevent hot wax from splattering on your furniture or skin. If you get hot wax on your skin, hold the affected area under cool running water for a few minutes to ease the pain and inflammation.
Proper Storage
Another simple way to make your candle last longer is to store it properly. Keep it in a cool, dark place when you’re not using your candle. Heat and light can cause the wax to degrade, making it more difficult for the candle to burn evenly.
Moreover, try to keep your candle away from any drafts. A draft can cause the candle to burn unevenly and produce soot. If you notice soot on the sides of your candle jar, extinguish the flame and let the wax cool. Then, wipe away the soot with a clean cloth.
We encourage you to read our candle storage guide to ensure that you are get the most out of your candles.
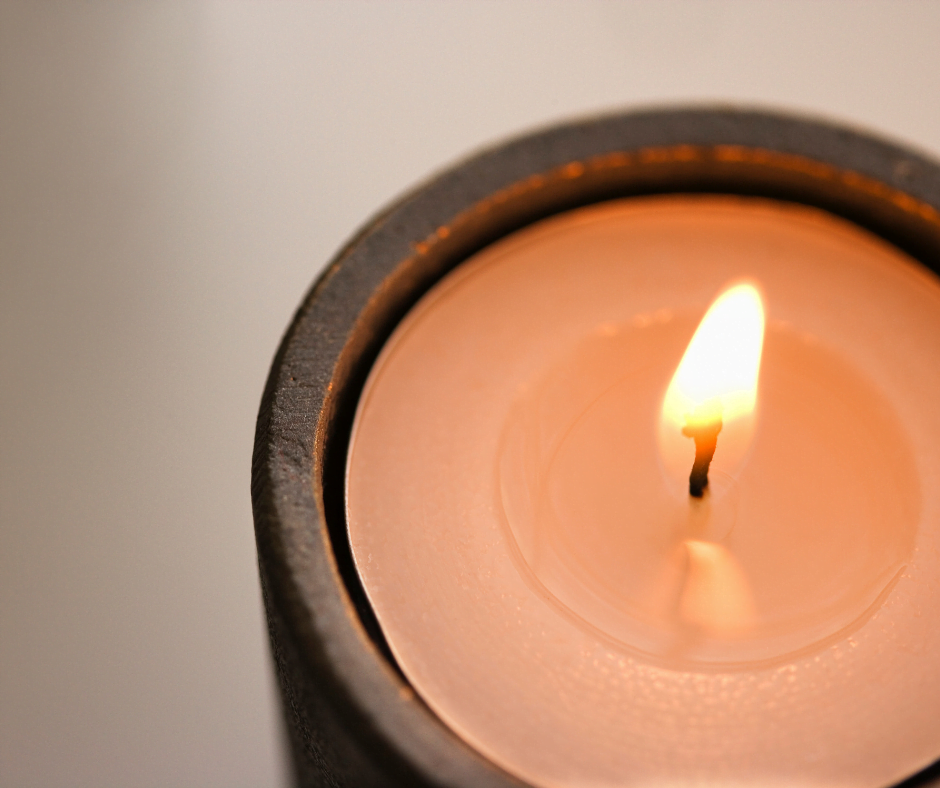
Ensure your candle pools completely
When you first light your candle, let it burn until the wax melts evenly across the surface. This is called a “memory burn.” If you extinguish the candle before it forms a pool, it will create a well in the center of the wax.
The flame’s heat will melt the wax around the wick when you re-light the candle. This can cause the candle to burn unevenly and produce soot. Allow your candle to form a pool before extinguishing it to avoid this.
A good rule of thumb is to let your candle burn for at least 1 hour for every inch (2.54 cm) of its diameter. For example, if your candle is 4 inches (10 cm) in diameter, you should allow it to burn for at least 4 hours.
If you can’t let your candle burn for that long, let it burn until the wax melts all the way to the edge of the jar. This will help prevent the formation of a well in the center of the wax that will lead to tunneling.
Final Thoughts
Adding salt to your candle can greatly increase the burn time and improve the scent throw. Just be sure to use the right amount of salt for your particular wax and desired effect. too much salt can make your candles difficult to light or cause them to produce smoke. If unsure, start with one teaspoon of salt per pound (0.45 kg) of wax and adjust as needed.
With a few simple tricks, you can extend the life of your candles and get the most out of them. Just be sure to practice safe candle-burning habits to avoid any accidents. Never leave a lit candle unattended, and keep them away from flammable objects. Extinguish candles when you leave the room, and always blow them out before going to bed. By following these guidelines, you can enjoy your candles worry-free.

