
Many people enjoy the ambiance and fragrance that candles provide. However, not everyone knows how to let candles cure properly to get the best scent and longest burn time. In this article, you will learn how to let your candles cure so you can enjoy them for longer.
Candles must cure to ensure that the essential or fragrance oil is thoroughly distributed throughout the candle. In general, the longer you cure your candles, the better the hot throw and overall scent of your finished product.
We will now dive into why curing your candles is essential and how the cure times depend on the wax, you are using. We will also answer your frequently asked questions. Let’s get started!
What is candle curing?
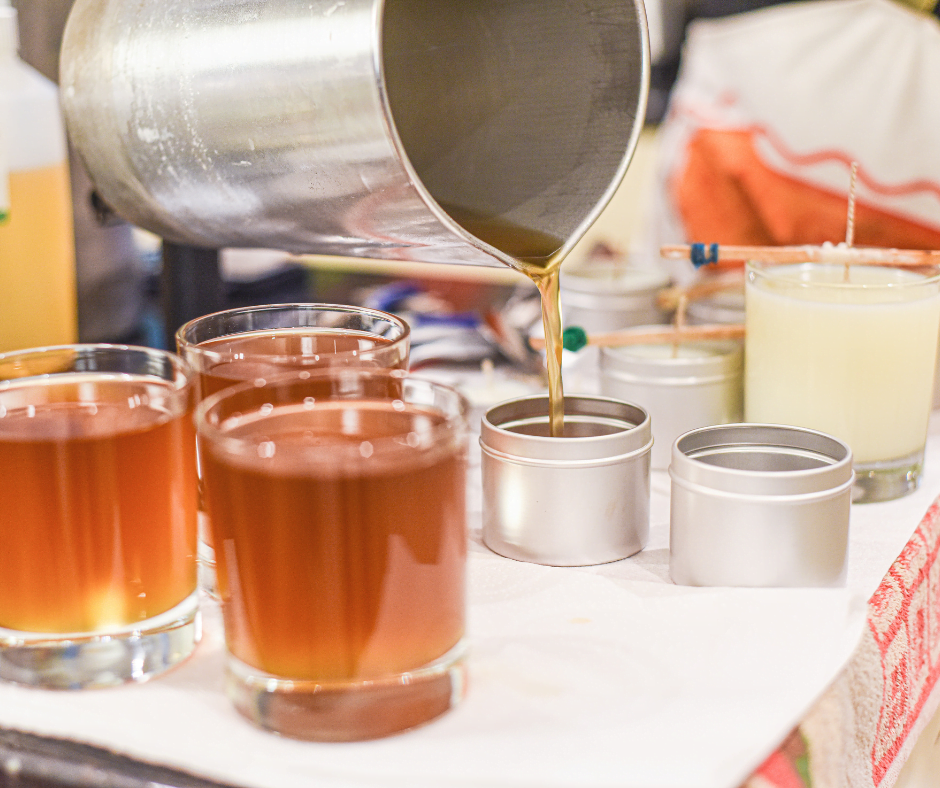
Candle curing is the process of allowing your candles to sit undisturbed for a period of time after you have poured your wax into a mold or container. Candle curing allows the wax and fragrance to blend, boosting the hot throw and scent of your finished candle.
What is the best way to cure candles?
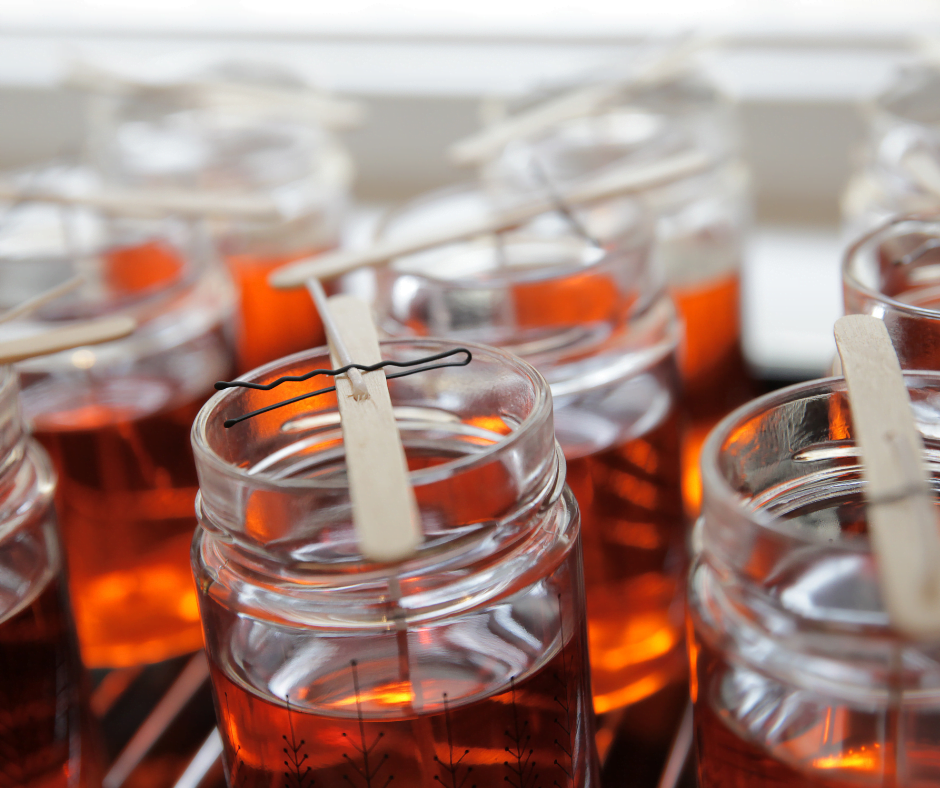
The best way to cure candles is by leaving them in a cool, dark place for two weeks. During this time, the wax and fragrance will blend, and the candle will produce a more potent and even scent. Ensure you do not move the candles during this time, as it could impact the curing process.
Once the two weeks have passed, you can move your candles to a warmer, brighter place and enjoy them by lighting them around your home!
There are a few things you can do to make sure your candles cure properly:
- Give them plenty of time: Allow your candles at least two weeks to cure properly. This will give them enough time to blend and release their scent.
- Place them in a cool, dry place: Ensure you place your candles in a cool, dry place while they are curing. This will help them to blend correctly.
- Do not move them around: During the curing process, it’s best not to move your candles around too much. This can disrupt the blending process and cause them not to smell or burn correctly.
By following these tips, you can ensure that your candles are correctly and provide you with the best scent and longest burn time.
What are the benefits of curing candles?
When you allow your candles to cure correctly, you’re doing more than just giving them time to blend their wax and fragrance. There are several benefits to proper candle curing, including:
Smoother burn: When you cure your candles adequately, the wax and fragrance will blend evenly. This will result in a smoother, more consistent scent throughout the candle’s life.
Longer lifespan: By curing your candles correctly, you’re ensuring the candle’s scent will last the candle’s lifespan. This means you’ll be able to enjoy their scent and ambiance for longer.
Better hot throw: One of the main benefits of curing candles is that it allows the scent to be released evenly, more intensely, and at a longer distance. This means your home will smell delightful for extended periods, and you can smell the candle throughout your home.
What are the cure times for different candle waxes?
The type of wax that you are using will impact the correct cure time for your candles. Many candle makers prefer different cure times, which often comes down to personal preference. Below you will find the average cure times recommended by several candle makers within the industry.
| Type of Wax (Pure) | Suggested Cure Time |
| Paraffin Wax | 3 to 5 days |
| Beeswax | 7 to 10 days |
| Soy Wax | 10 to 14 days |
| Rapeseed Wax | 10 to 14 days |
| Coconut Wax | 14 days |
| Palm Wax | 7 to 10 days |
The longer you cure your candles, the better the final product. With all elements of candle making, it is essential to test your curing process and understand what provides the best results for your specific candle. If you take anything from this article – your testing process is critical for your success as a candle maker!
What candle-making mistakes affect the scent of your candle?
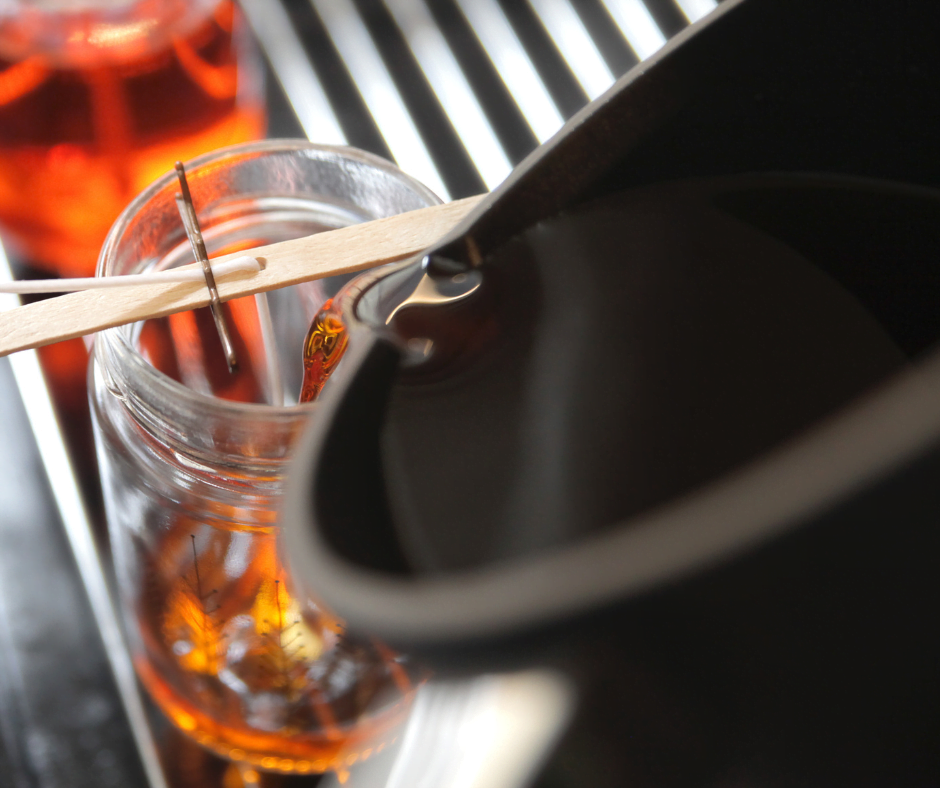
One common mistake made when candle-making occurs when adding fragrance oil to your melted wax. If this is not done correctly, it can affect the scent of your candle. Stirring the candle when adding the fragrance oil is essential to help the scent distribute evenly. You must stir for long enough to ensure that your fragrance is distributed evenly throughout the wax.
Adding fragrance oil at the incorrect temperature can also affect the scent of your candle. The oil should be added when the wax is between 150 to 205°F, as this is the temperature at which the scent will be most pronounced. You can check the correct temperature to add your fragrance oil below for your specific wax.
With the data above, you want to ensure that you check the correct temperature for your specific wax, as these are based on pure waxes. Most waxes contain additives and are mixes of two or more waxes. You can check out our article on critical temperatures throughout the candle-making process to learn more about this.
Adding too much fragrance oil can also affect the scent of your candle. The industry standard for adding fragrance oil is 0.5 ounces per pound of wax. Make sure you add the correct amount of fragrance oil for the amount of wax you are using to get the best results. You should not add less fragrance oil than this recommended amount, as this will limit your candle’s potential hot throw.
What happens if you don’t cure a candle?
If you don’t cure a candle, it can negatively impact the final product. These include:
- The fragrance oil will not be evenly distributed throughout the wax, affecting the scent at different times of the burn process.
- The candle’s scent may not last as long as it should.
- The candle’s hot and cold throw will be weaker than if you had cured the candle.
As you can see, there are several reasons why curing candles are essential to get the best results. Make sure you allow your candles to cure for the recommended time to get the most out of them!
How to store your candles for the best results
When you invest in quality candles and wax, you want to make sure you store them properly to get the most out of them. Here are some tips for storing your candles, so they last longer and smell great:
1. Keep them away from heat sources: Candles should be stored in a cool, dry place away from direct sunlight or heat sources. This will help prevent the wax from melting and the scent from fading.
2. Store them in a tight-fitting container: If possible, store your candles in a glass jar or other airtight container. This will protect them from dust and moisture and help keep the scent stronger for longer.
3. Let them cure properly: After making your candles, it’s essential to let them cure for at least two weeks before burning them. This allows the wax to harden and the scent to fully develop, resulting in a better candle-burning experience.
If you want to learn more about the best ways to store candles, we have the perfect article for you. We have written an article about candle storage which you can check out here.
Candle care tips
Once your candles have been made and have had a chance to cure, you can do a few things to make sure they burn evenly and smell their best. Here are some tips for getting the most out of your candles:
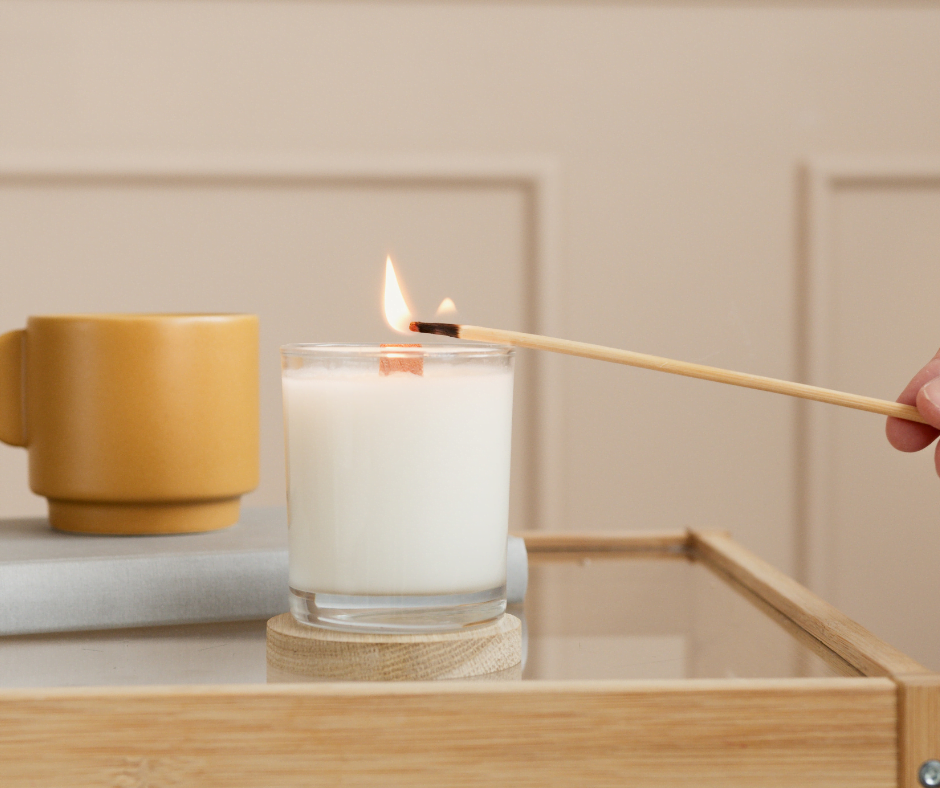
1. Trim the wick: Before lighting your candle, trim the wick to about 1/4 inch. This will help ensure a steadier flame and reduce the risk of sooting and other common wick problems.
2. Burn it for no more than four hours at a time: Over-burning your candles can cause them to burn unevenly and create excess heat, which can damage the wax and cause the scent to fade.
3. Allow the wax to melt across the candle before blowing it out: If you don’t allow it to melt across, you risk creating incorrect wax memory, causing your candle to start tunneling.
4. Keep candles out of reach of children and pets: Candles should always be kept out of reach of children and pets, as they can be dangerous if consumed and present a fire hazard.
Q&A about candle curing
How long to cure wax melts?
Wax melts should be cured for up to 14 days before use. This allows the wax to harden and the scent to fully develop, resulting in a better candle-burning experience. The longer the cure, the better your scent will be once you place them on your wax warmer.
Depending on your specific wax, check the candle cure table in this article to provide further guidance on what cure times you should follow for your wax melts.
Do you have to wait for wax melts to cure?
You need to wait for wax melts to cure. This allows the wax to harden and the scent to fully develop, resulting in a better aromatic experience. The longer the cure, the better. Depending on your specific wax, check the candle cure table in this article to provide further guidance.
When should I start curing my candles?
Start candle curing when the candles are poured and cooled completely. Depending on your specific wax, check the candle cure table in this article to provide further guidance.
How do you harden candle wax fast?
You can use a fridge to harden your candles faster. However, the curing process will take time, and the longer you leave your candles at room temperature, the better your results will be. For the best scent, leave the candles at room temperature in a dark place and give them the required undisturbed time.
Do you cure candles with lids on or off?
You should cure your candles with the lid on. This will ensure that cold throws potency is maintained. Leaving the lid off will not impact the candle’s hot throw, but a cold throw is usually the first thing people smell with any candle. The candle lid will also prevent debris or dirt from embedding in the wax during the curing process.
Before placing the lid on the candle, make sure that the candle has completely cooled and that the wick is securely centered within the candle.
Final Thoughts
By following these tips, you can ensure that your candles will be cured adequately and smell great. Store them in a cool, dry place away from heat sources and direct sunlight, and trim the wick before each use. With proper care, your candles will produce your desired scent. Thanks for reading, and happy candle-making!

