
Today we want to provide a guide on how you can make the most out of your Wax Warmer and what you need to start bringing unique scents and fantastic ambiance to your living space.
When using a new wax melt on your Wax Burner, you should use one wax melt. This will allow you to understand how full your wax dish will become. Once you know the total capacity of your wax dish, you can use 2 to 3 wax melts for a more intense fragrance, but you must ensure these are only small tarts that will not overflow your diffuser dish.
This article will provide a guide on how to use your Wax Warmer. We will guide you on how many wax melts you should use and answer some of your frequently asked questions.
How to use a Wax Warmer
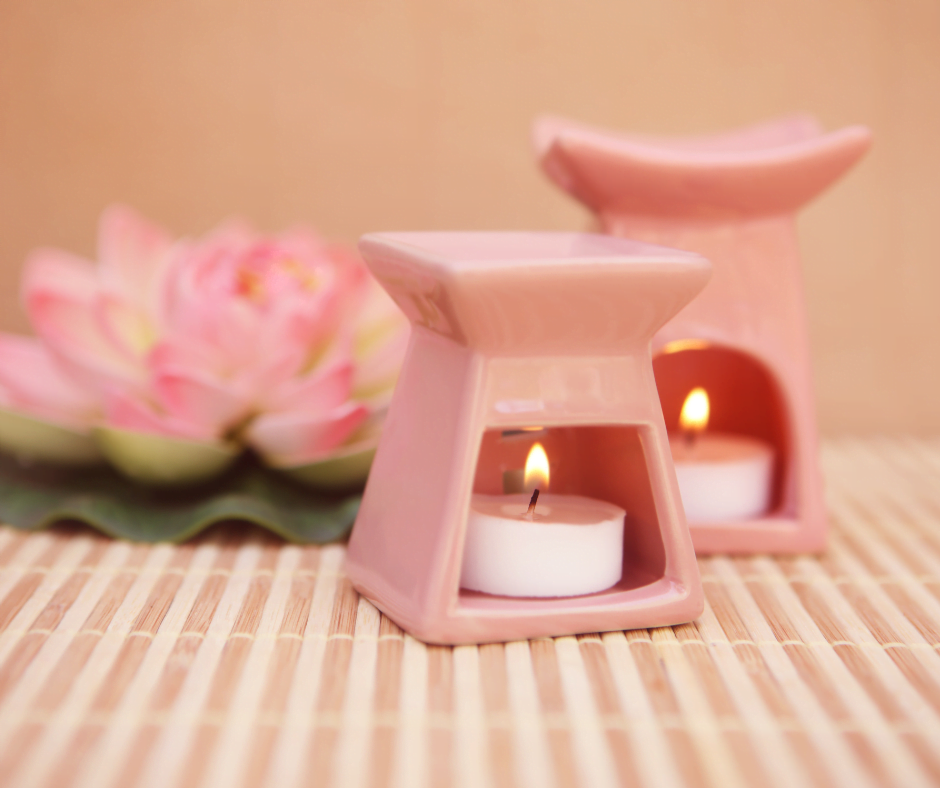
1. Choose the right Wax Warmer for your needs
To make the most out of your wax melts, tarts, and cubes, you will need to take your very first steps and buy a Wax Warmer to suit your needs. It would help to consider a few things when purchasing your first Wax Warmer.
- The Size of the Wax Warmer: This is important as you want to ensure your wax melt fits snugly inside the bowl. If it doesn’t, then the heat will cause the wax to spread out, and this can be dangerous if the hot wax overflows the dish.
- The Material of the Wax Warmer: Most Wax Warmer are made from ceramic or metal. Some people prefer one material over the other, but it comes down to personal preference. Metal is a good choice if you want a longer-lasting Wax Warmer.
- The Power of the Wax Warmer: This is important as you want to ensure the Wax Warmer can heat up quickly and evenly. If it takes too long to heat up, you might get frustrated and give up on using it altogether.
2. Choose the right Wax Melts, Tarts, and Cubes
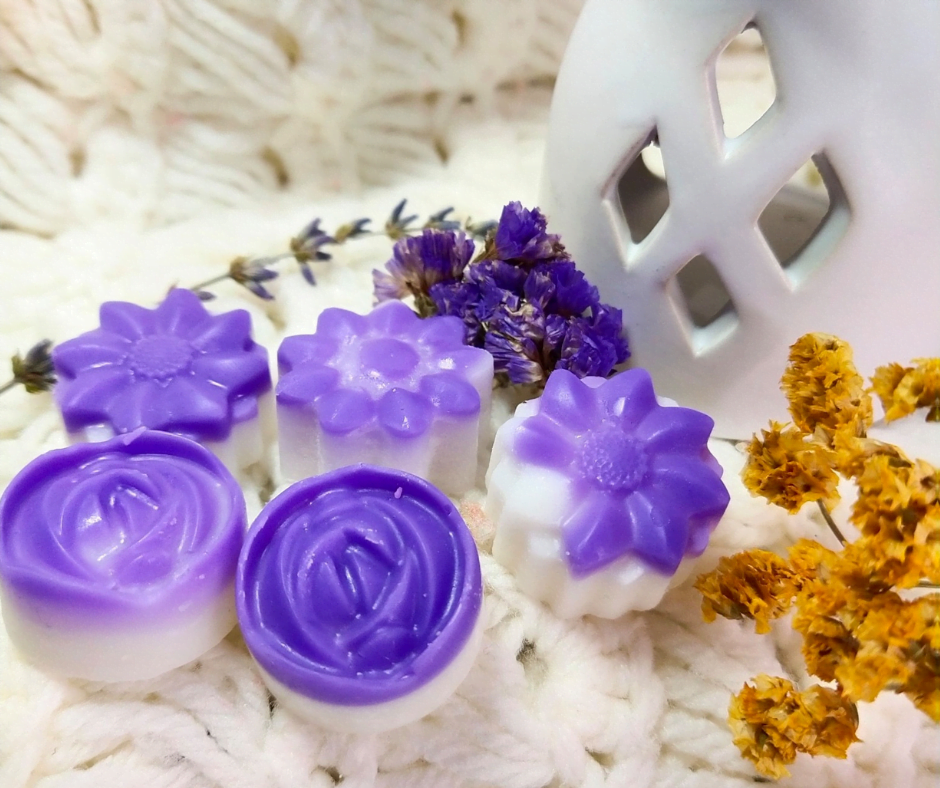
The next step is to choose the right Wax Melts, Tarts, or Cubes. There are many scents, colors, and brands to choose from. You can even find melts that are shaped like animals or flowers. Firstly, let us review the difference between melts, tarts, and cubes.
Wax Melts: These are small, scented pieces of wax that you place in your Wax Warmer. They come in various shapes and sizes but are smaller than Wax Tarts.
Wax Tarts: Tarts are similar to wax melts but are usually larger, and you will only need to place one into your Wax Warmer. They also come in various shapes and sizes but can have more intricate designs as they are larger.
Wax Cubes: Cubes are usually larger than both wax melts and tarts. Wax cubes are limited in their sculpted features as they are cubes, as the name suggests. The key to successful wax cubes is unique scents and colours. They are a more practical solution that can be found in scented multipacks.
When choosing your Wax Melts Tarts and Cubes, it’s essential to consider the following:
- The Scent of the Wax Melts: This is the most crucial factor as you want to choose a scent you will enjoy. You might want to try a few different scents before settling on one.
- The Colour of the Wax Melts: The wax colour doesn’t affect the scent, but it can be vital if you use the Wax Melts as part of a decorative display.
- The Brand of the Wax Melts: There are many different brands of Wax Melts on the market. Some people prefer to stick to one brand, while others like to try different brands. It’s up to you which route you take.
3. Melt the Wax Melts
The next step is to melt the wax. This can be done in several ways but using a Wax Warmer is the most common. If you are using a Wax Warmer for the first time, then you should follow the instructions that came with it.
As a general guide, you will need to do the following:
- Place the Wax Warmer on a heat-resistant surface.
- Place one Wax Melt in the bowl of the Wax Warmer.
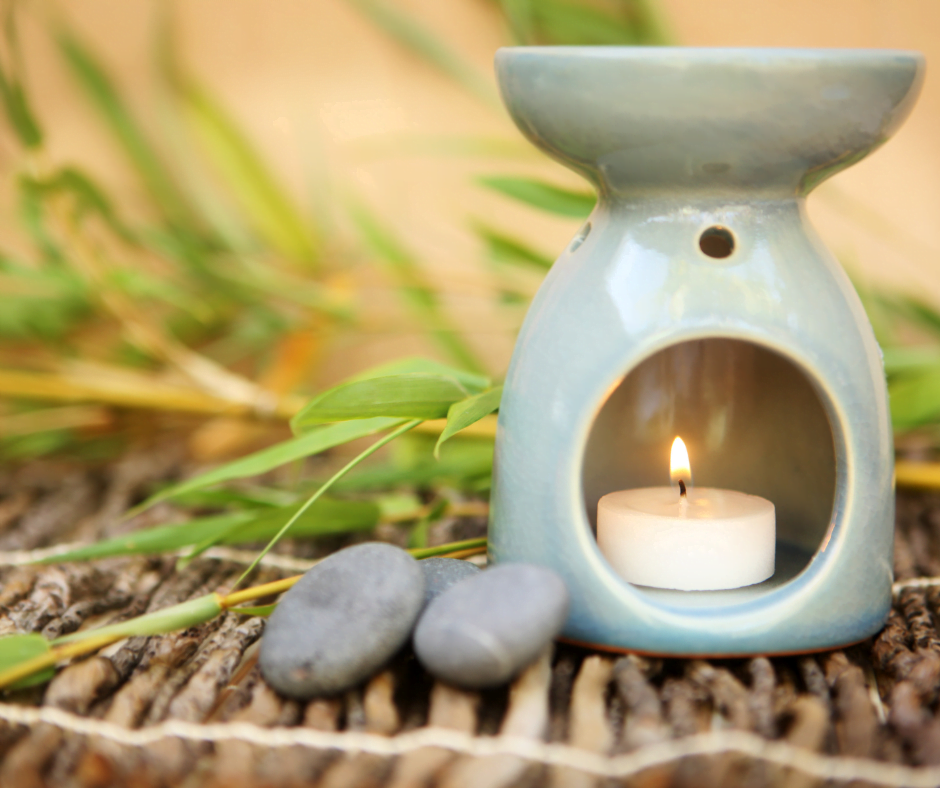
- If you have an electric Wax Warmer, ensure it is plugged in.
- If you have an open-flame Wax Warmer, place a tea light under the wax dish.
- Turn on the Wax Warmer or light the tea light and wait for the wax to melt.
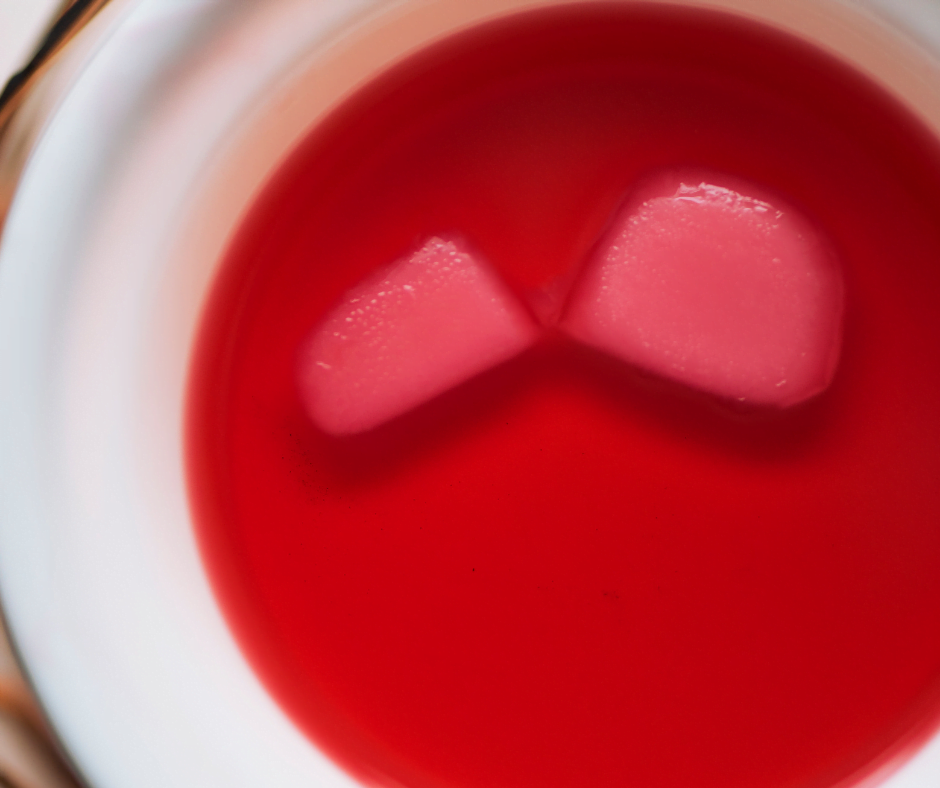
Now it’s time to sit back and enjoy the scent of your Wax Melts. You might want to have a book or magazine to read while the wax melts. Alternatively, you could use this time to meditate or do some yoga.
4. Turn off the Wax Warmer
Once you have finished with the Wax Warmer or left the room, it’s time to turn off the heat source. This is essential as you should never leave an unattended wax warmer. You should always be present when using one of these devices. You also want to ensure that you turn off your Wax Warmer to avoid causing a fire hazard within your home.
If you’re using an electric Wax Warmer, press the off switch. Once you have done this, ensure you unplug the device from the socket. If you’re using a tea light, carefully blow it out or use a wick dipper to remove any smoke released into your room.
5. Remove the Wax from the Dish
Once the wax has cooled, you can remove the wax from the dish. You can do this by using a spatula or your fingers. The wax should be solid and completely cooled before starting this process. You do not need to remove the wax from your warmer dish until you are ready to use a new tart, melt, or cube.
Reheating Wax in the Dish: If the wax is still fragrant, you do not need to remove your wax from the dish. Just follow the steps above and reheat the wax. Remove the wax only when you no longer get the desired scent – this will allow you to make the most of your melts and save money.
If you struggle to remove the wax, you can pour hot water into the warmer dish. Once the wax has melted slightly, you should be able to remove it from the bowl with ease. Never dispose of melted wax down the sink; always dispose of it cooled in solid form in the trash.
We encourage you to take a look at our article that provides the best tips to clean and dispose of melted wax.
6. Clean the Wax Warmer
It’s essential to clean your Wax Burner after each wax melt change. Once you have removed the wax from the dish, you can clean the dish with a damp cloth or paper towel. If any residue is left on the dish, a great trick is to use a cloth and baby oil. The wax should come away from the dish with ease.
You should also clean the outside of your Wax Burner. Depending on the model, you might be able to pop the bowl in the dishwasher. If this is not an option, clean it with a damp cloth. Use caution when using water around electric wax warmers, and avoid any electric cords and wires, ensuring the device is completely dry before the following use. Of course, ensure that the device is unplugged before cleaning.
And that’s it! You’ve now learned how to use a Wax Warmer. As you can see, it’s a simple process that anyone can do. Now it’s time to enjoy the beautiful scents of your wax melts.
What type of wax melts should you use?
There are many different types of wax melts available on the market. The most popular type is soy wax, but you can also find beeswax, paraffin, and gel wax. Soy wax is the most popular type as it is made from natural ingredients. It’s also easy to clean up if there are any spillages.
You can check out our wax guides which will provide more information about different wax types. We encourage you to read our Soy, Paraffin, Beeswax, Coconut, Rapeseed, and Palm wax guides.
How many wax melts should you use?
Only use one melt on the first use to ensure you do not use too much. If the scent is not strong enough, you can add one or two more melts. You should never overload your Wax Warmer as this presents a fire hazard. Using one melt to start will allow you to find the capacity of your wax dish and check the manufacturer’s advice concerning dish capacity.
The number of wax melts you have will depend on the size of your Wax Warmer and the size of melts you are using. Using a large Wax Warmer, you can use 2-3 wax melts. We recommend using 1-2 wax melts maximum if you’re using a small Wax Warmer.
You should also consider the strength of the fragrance. We recommend using 2-3 wax melts if you want a strong fragrance. If you want a light scent, we recommend using one wax melt.
Which scents are available for purchase?
There are many scents available for purchase. The most popular scents are floral, citrus, and vanilla. However, you can find almost any scent you desire. If you have a specific scent in mind but cannot find it, you can try making your wax melts.
Frequently Asked Questions about Wax Melters and Wax Melts
How long do you leave wax in a Wax Warmer?
Most people leave their wax melts in a Wax Warmer for 4 – 8 hours of burn time. This will allow the scent to fill the room. However, depending on your preference, you can leave them in for longer or shorter periods. Never leave your wax warmer unattended.
How do you know when a wax melt is done?
When the scent has gone, it’s time to change your wax melts. Follow the steps above to remove the old wax and replace it with new melts.
What do you do with leftover wax?
Once all the fragrance has been released from your wax melts, you can remove the wax from your Wax Warmer. You can dispose of it in the trash. However, some people like to Clean and Reuse their wax. This is a great way to get the most out of your wax melts.
How long does the scent last in wax melts?
The scent of wax melts should last anywhere from 8 to 12 hours, depending on the wax type and the fragrance’s strength.
Final Thoughts
We hope this guide has taught you everything you need about Wax Warmers and Wax Melts. If you have any further questions, please don’t hesitate to contact us. We would be more than happy to help.

